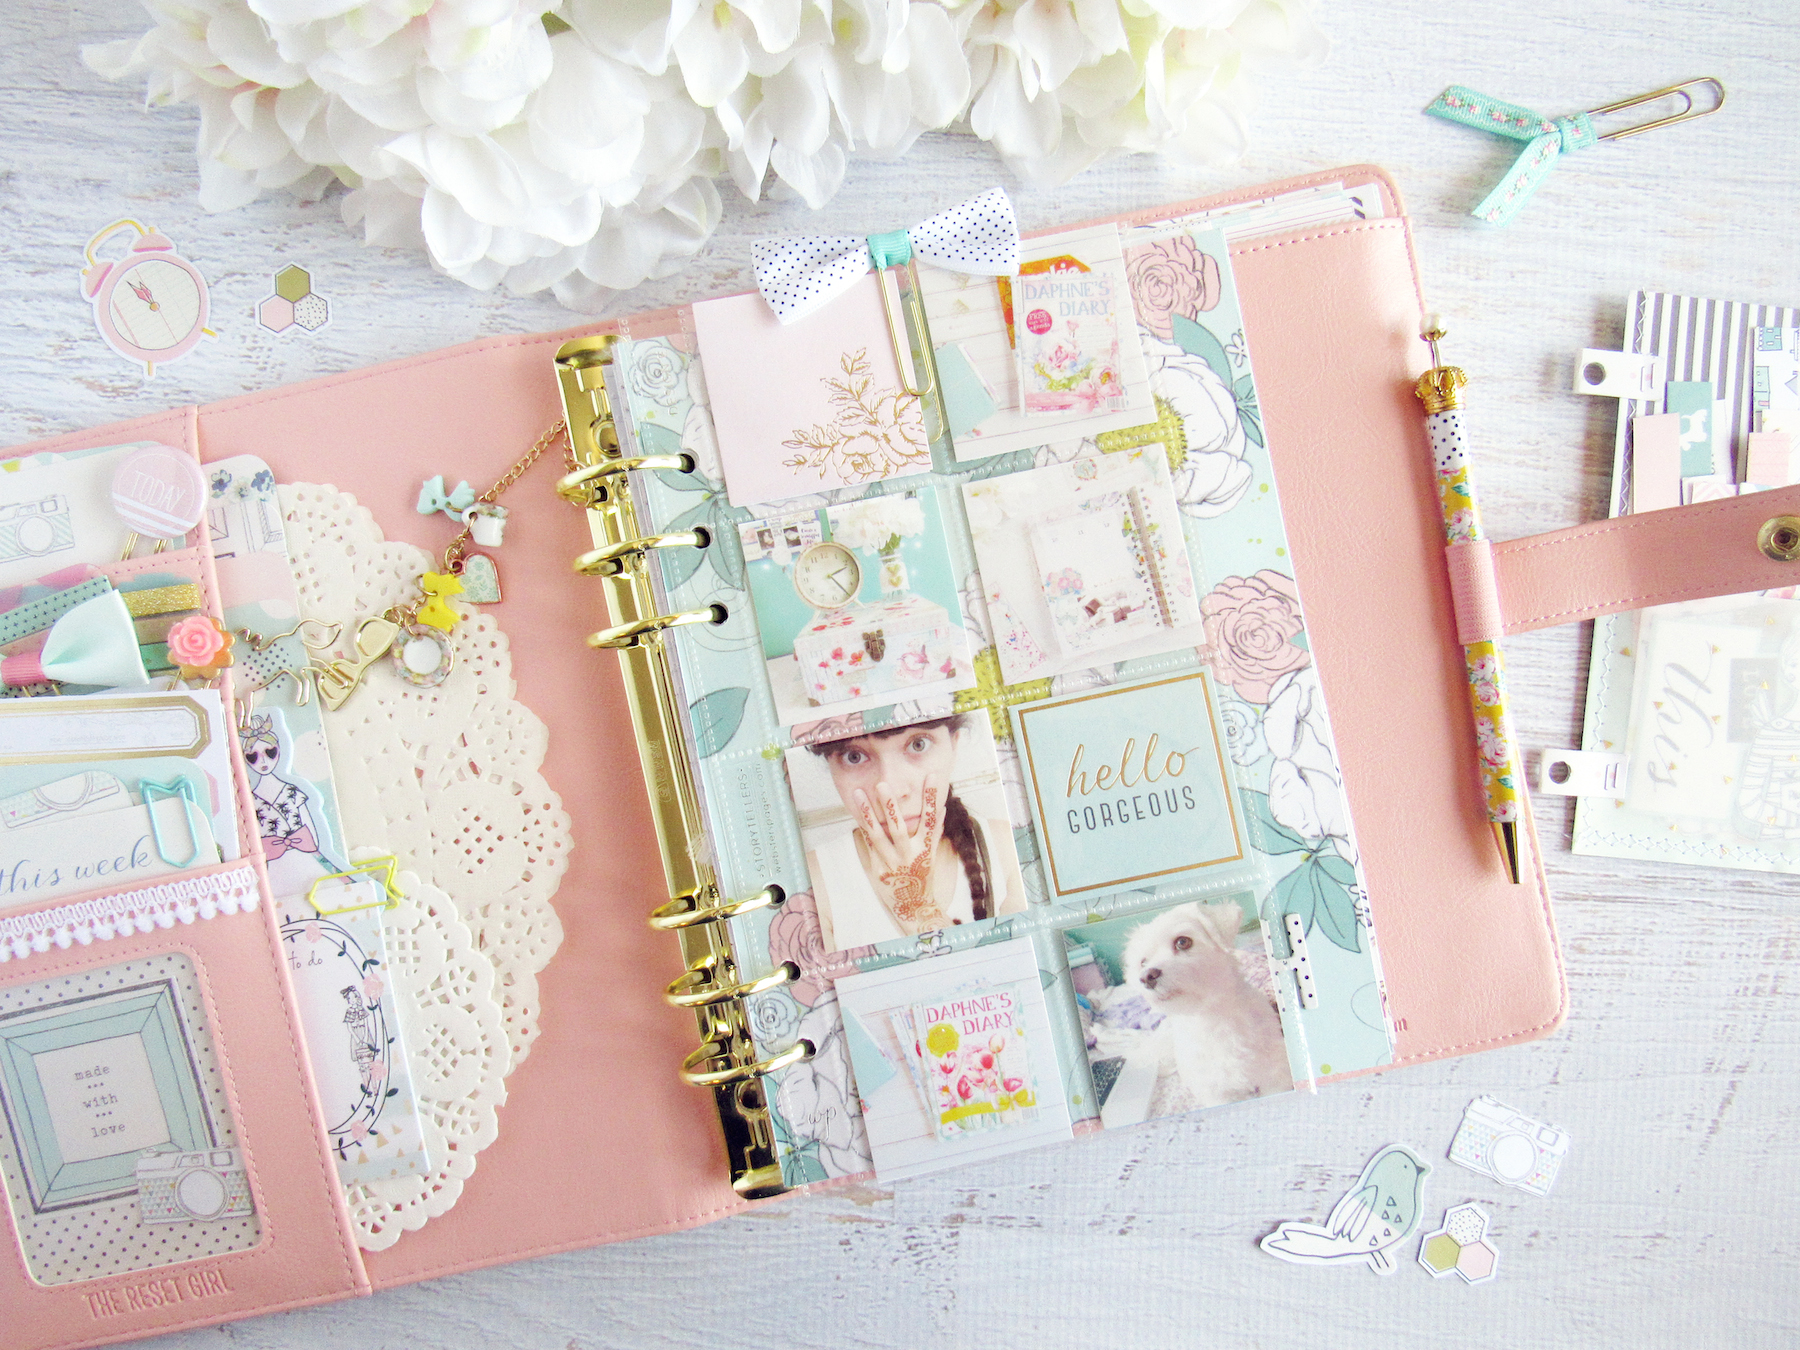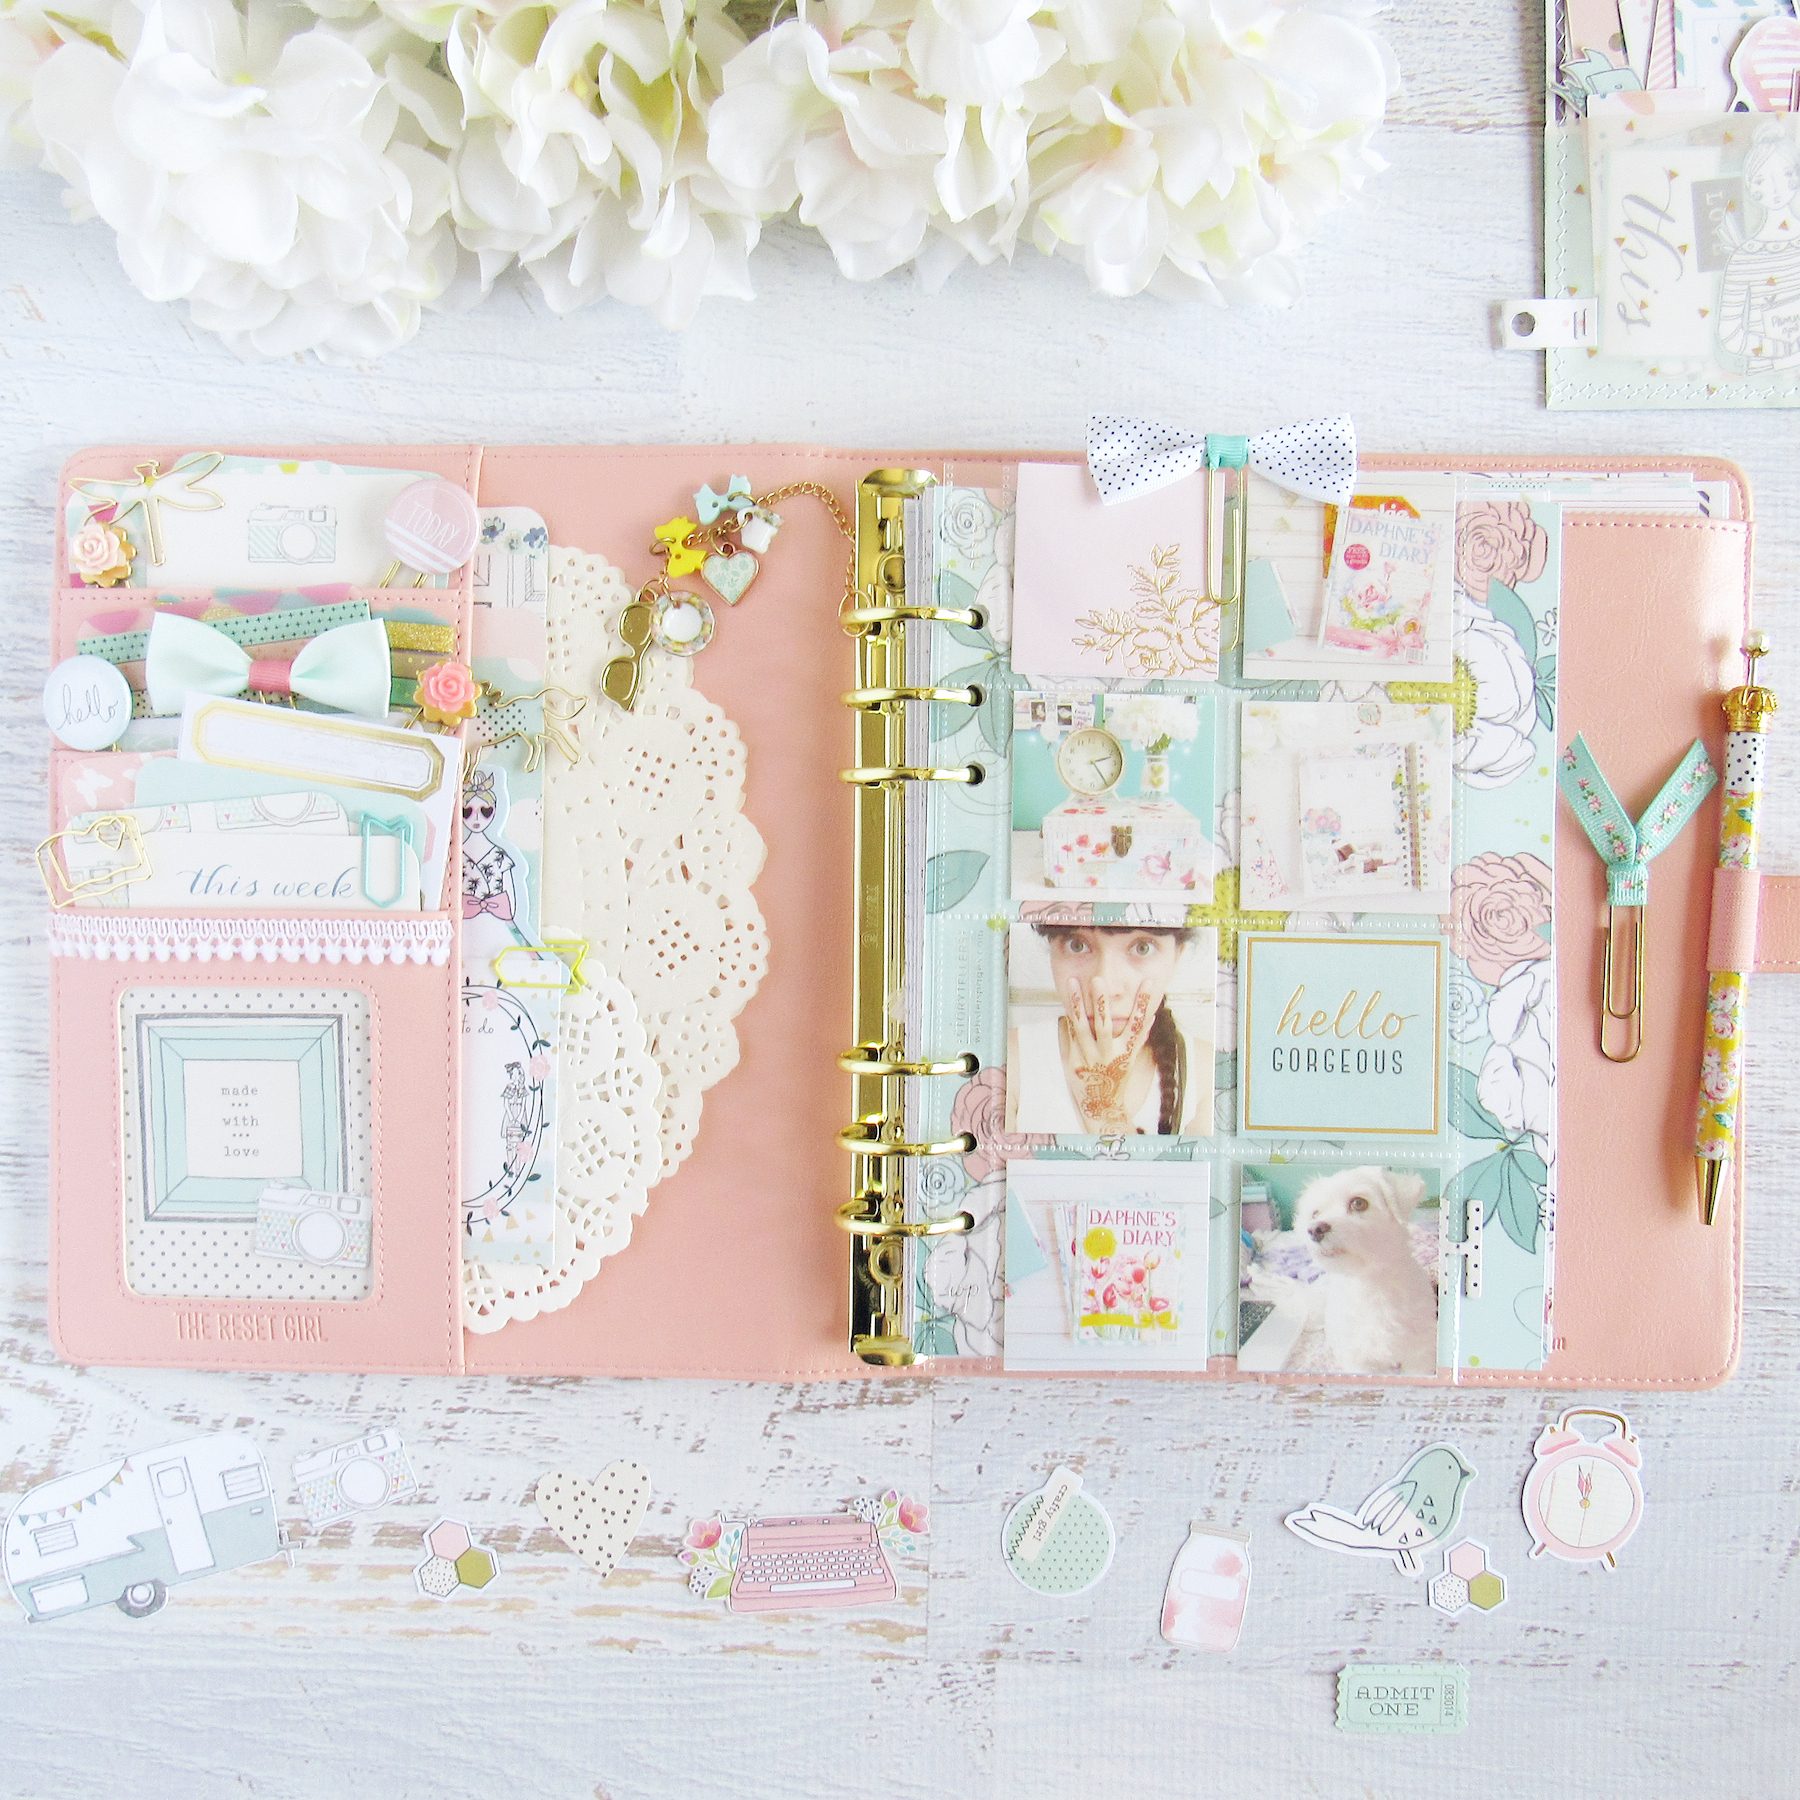
I wanted to share my new setup in my A5 Simple Stories Carpe Diem TRG Ballerina planner. My initial intention with setting up this planner was for it to work as my new faith planner. While I’m still hoping to use it to keep it for notes and journaling about my studies, I’m beginning to think I’m going to use it to track some other things as well. The inserts I’m using have a few goal setting/tracking pages in the beginning of each month that I would love to utilize, so I may add a few non-faith information in those sections as well.
The insets I’m using inserts are from Inkwell Press. I purchased their Quarterly Inserts, which are these A5 booklet inserts they have for each year. You get four books, each divided up into three months, so I ended up cutting July through December and punching them into my planner. I love the layout of this planner. I’ve never used Inkwell Press inserts before and I have to say, their layout is so neat and clean and the paper quality is amazing. They are dated, so I’m thinking of using January to June next year. I’ll just have to change the dates. Definitely check out my setup video below to get a better look at these inserts!
So I setup my faith planner mostly using bits from Dear Lizzy’s Polkadot Party collection. It is a very old line from 2013 that I’ve been hoarding. I was fortunate enough to find a few more pieces from the line a couple months ago that a shop was selling on clearance. This is probably my most favorite Dear Lizzy line ever. I thought the colors of the collection matched so well with the Ballerina pink, so I used the collection as a my base and pulled a few other pieces from my stash to create a kit to work from. Most of the papers are from Polkadot Party, but I also used a few papers from Maggie Holmes’ Gather, Dear Lizzy’s Lovely Day, one sheet from Dear Lizzy’s Saturday, one sheet from Crate Paper’s Cute Girl and one sheet from Simple Stories’ Posh collections.
I basically found things that matched the peachy-pink, mint, black & white, with a hint of yellow color scheme. I have been greatly inspired by Suse Fish and her Scrap Therapy books, so on a few pages, I did a few scrappy layouts with some photos I took that I thought would match well with my faith planner setup. I added a planner pocket page from Websters Pages in the front to act sort of like my dashboard. I printed out a few of my photos that I love that matched my color scheme perfectly. I just love adding a little personal touch to my planners. I used a few 2×2 cards from Heidi Swapp in the pockets as well.

Now, I filled my planner pockets with all sorts of pretty bits. Most are journaling cards from the Polkadot Party mini Project Life kit. But I also have some functional sticky notes, label stickers, and washi tapes on a card tucked in there as well. Then an assortment of cute fun paperclips that I have or made specifically for this planner. In the bigger pocket, I decorated with a few paper doilies. I also have some larger Project life cards tucked in there along with a few more sticky notes from The Planner Society.
I also made two pocket inserts out of scrapbook paper to hold a few more supplies. I wanted to keep everything I’m going to use to decorate this planner within the planner itself, so all I have to do it grab my planner and go. Everything I need to embellish will be there. So the first pocket is in the front of the planner. It’s a tiny pocket that holds bits of ephemera and die cut pieces from different lines. The bigger pocket I have in the back of my planner, which holds a bunch of The Reset Girl stickers, alphas and other bits from different places. Definitely check out the video below where I walk you through my entire faith planner setup!


