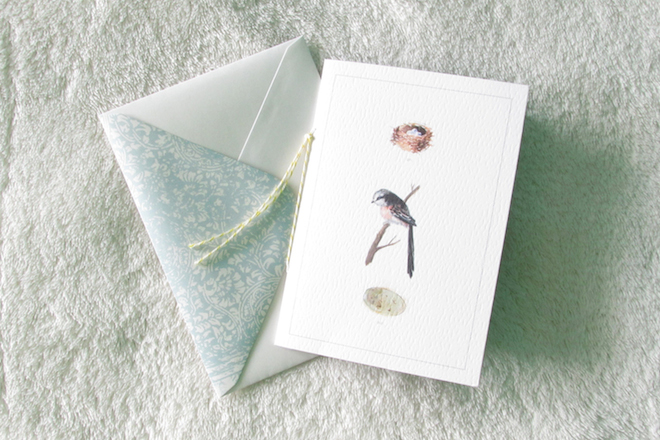
So I’ve been playing around on another blog of mine these past few days. It’s an old blog that I turned into a snail mail/pen pal blog to give it new content. It’s called And Along The Way. (I’m not sure if I’m going to keep at it, but it’s been interesting. I’ve been slowly transferring all of the content from that site to this one. I figure it’ll be a lot easier to update everything when it’s all in one place.) I’m sort of making an experiment out of it. I didn’t want to bombard this site with all of my snail mail stuff (I’ve been doing that on Tumblr), so I felt I needed a place to experiment with all my letter writings. I’m trying to be more creative with the letters and mini parcels I send out to my pen pals. Lately, I’ve been feeling like I’m curating bits and pieces of ephemera more than creating those bits and pieces. It’s become a bit tedious really and sending things to your pen pals shouldn’t feel like that. So I decided to challenge myself and be more creative with my letters. So far so good! I’ve got about two letters I’m playing around with, but I really wanted to share my little greeting card booklet.
After playing around with greeting cards to create little folders out of them, I decided to try making them into little booklets. I figured this would be a cooler, more compact way of writing my letters to my pen pals as well as putting in little treats for them like Project Life cards, small pictures and stickers, etc. This booklet was fairly easy to make and looks super cute. Forgive me while I try my best to explain how I made it.
A Few Things You’ll Need
- A greeting card. You can use any size you want. I’m just going to use a small card.
- Paper: scrapbook paper, lined paper, graph paper, kraft paper…any kind of paper you want.
- Some embroidery thread. Any color you wish.
- A needle
- Scissors or paper trimmer
- A ruler
First things first, gather all your supplies. Once you’ve done that, grab your scrapbook papers and cut them to the size of the open greeting card. You’re going to fold these pieces of paper into the greeting card to create a booklet, so make sure you make the width of the pieces a little shorter so that they don’t end up sticking out when you fold them all into the card. I used various bits of paper I had lying around. Some patterned scrapbook paper, old book paper and some graph paper. You’re going to use this booklet to write your letter to your pen pal, so whatever paper you use be sure you’re able to write clearly on it. I’m going to scrapbook in my booklet, so I’ll be adding little pictures and such to it. I haven’t filled up this booklet yet, but hopefully it’ll all fit in the envelope. If not, I can always put it into a bigger envelope!
Once you’ve got your desired amount of pages, use your needle and poke two or three holes through the middle of the spine of the card and through the spines of the folded pages you want to add. Take your thread and make a simple bind. Tie a knot and trim the remaining thread or leave it as is. I left a bit of thread hanging lose on the outside just because I liked the way it looked.
I jazzed my booklet up a bit by adding a little folder pocket on the back. I basically did the same thing I did in the create a greeting card folder post, so that I can add a few bits and pieces of things I’d like to send. I also taped a Project Life card to the front inside cover, so that I can use that bit as a mail tag and have it right there, the first thing that my pen pall will see. I will write my letter on the pages of this booklet a little later on. I just wanted to show you how my finished booklet looks.
I definitely encourage you to play around with this. It’s a really fun little project and it makes your letters so different! I’m quite glad that I’m beginning to challenge myself with these small projects. Writing letters and sending mail should look and be fun. And I’m trying to find that fun again.