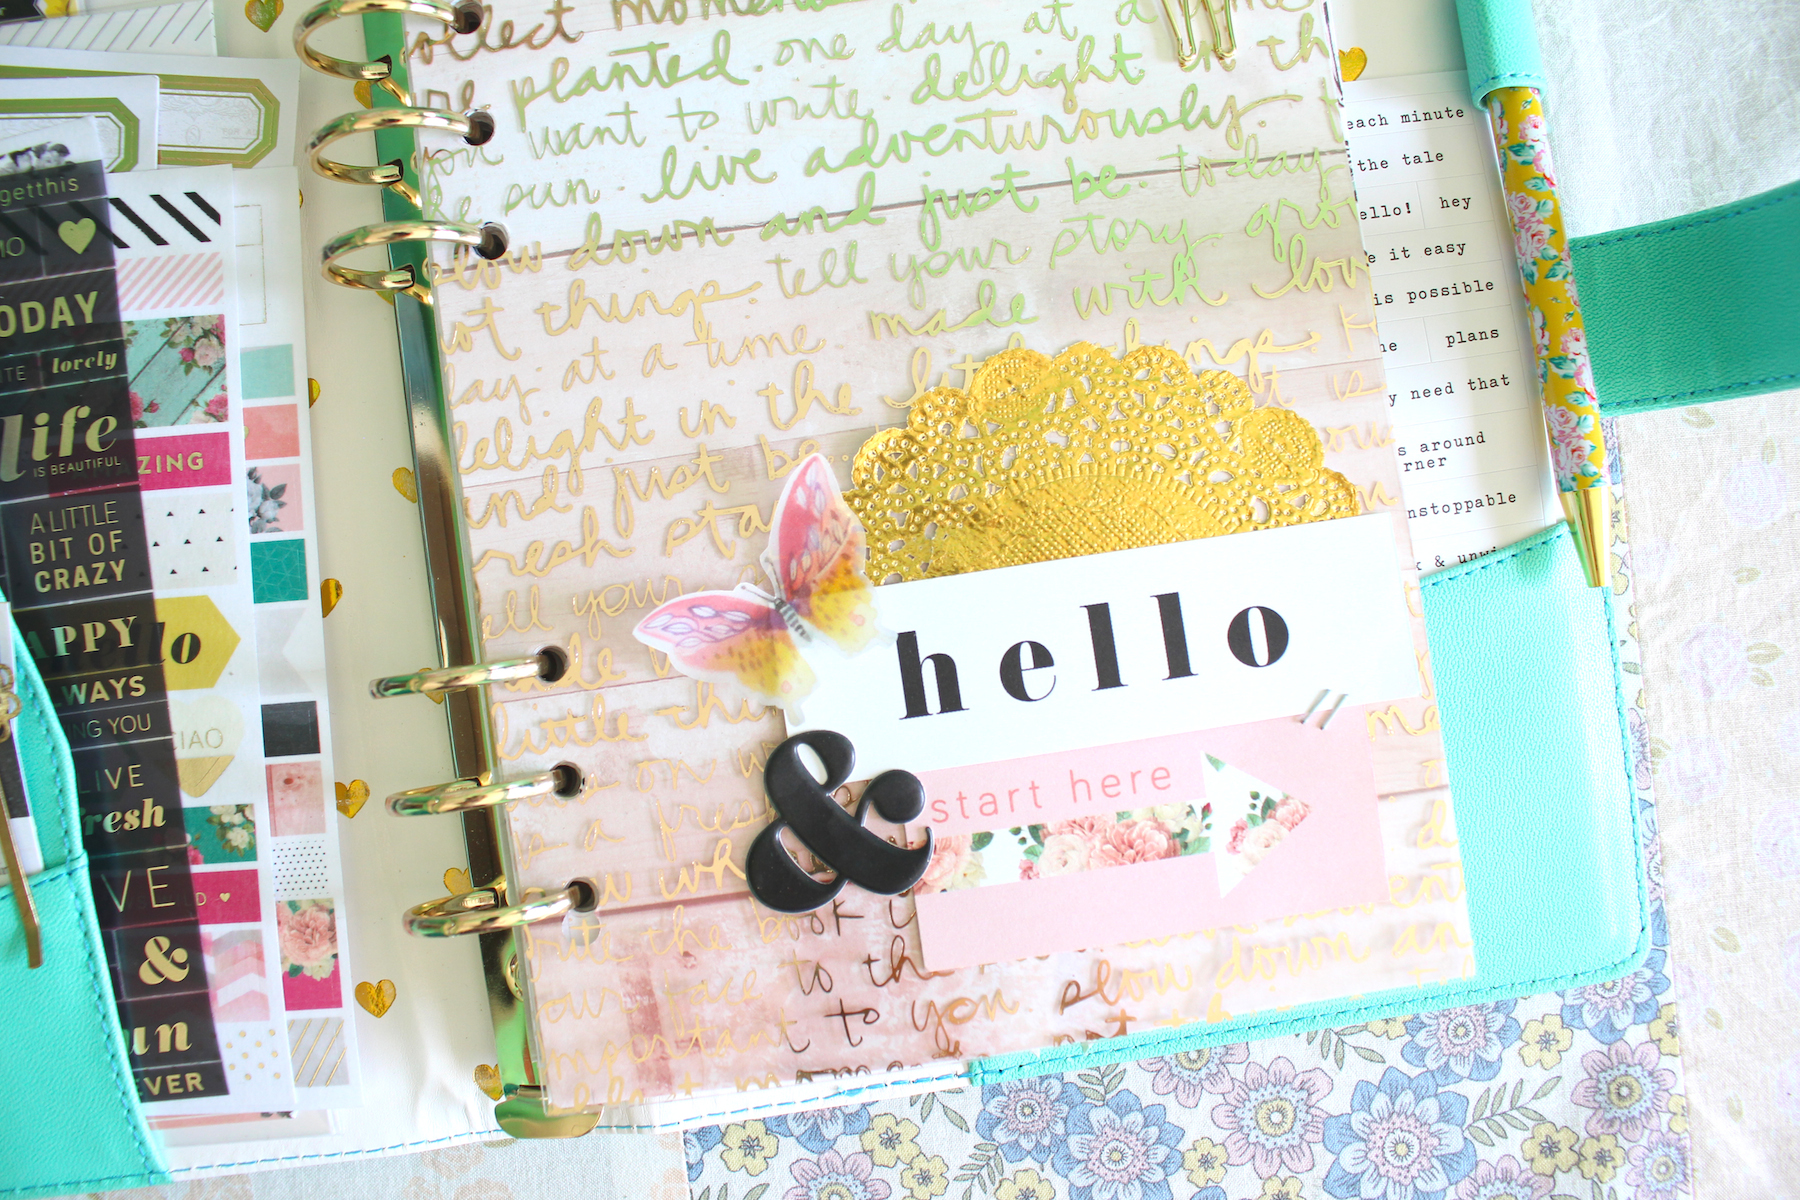
On my first episode of my Scrap With Love series, I begin by setting up my A5 Marion Smith Heart of Gold planner. I show you the process in which I make my dashboard using this gold foiled script acetate sheet that I back with a piece of scrapbook paper. I decorate my dashboard with bits from Pink Paislee’s C’est La Vie collection and other random bits from my stash. I then decorate my pockets with a few of the cut apart ephemera bits from Maggie Holmes’ Bloom collection and some decorative paperclips. In the bigger pockets of my planner I store the various sticker sheets from both of these collections so that I have them easily in reach.
I started by filling up my planner with random bits of scrapbook paper. I even printed out some grid pages on thick vellum bristol paper and just cut them down to size. I kept all of the extra “half sheets” too, because when I would cut down the scrapbook paper, I ended up with these strips of paper that I used to line the edges of the half sheets. They make for little listing spots and I love all of the odd sized pages in my planner. The first page I made was with a small square piece of paper that I used to make an about me or personal information page. The little card that tucks behind the selfie photo of myself has my name and address information written on it. On the back of that page, I just decorated with a some ephemera bits and an Aries zodiac image of the ram, with the number 4 for April, my birth month.
The next page is one of those half sheets. I used it to list “my intentions for life.” These are greater goals that I would like to continuously accomplish throughout my life. The following page is a little pie chart of things that I do on a regular basis. The pie chart cut out was from a Felicity Jane subscriber printable. I thought it was perfect to add into my book. I just used some string and labels to add a few things that I do on a daily…like sloth, which literally means I do nothing all the time. (And it’s true. There are some days where I don’t do anything productive.) The next bit is just a Project Life card that I used to add a little accent to my journal. I used a photo of my dog Joey and embellished the card a bit, just to give it a bit of dimension.
In these next few bits, I used tags from the We R Memory Keepers Typecast line to add a bit more standouts to my planner. I like these little bits in my planner because they break up the pages and make for great little decorative accents. I love all of the miss matching page sizes and these tags are just perfect for adding to that effect. The following two pages are full sized. One is just a decorative inspirational page that I made and the other is a corner of a grid page where I’m going to write a list of all the books I love.
This is just a little preview of the start of my visual planner. It’s the bare bones of it and I haven’t actually completed most of the pages that I embellished, like the books page. I decorated a few more grid pages, but I’m going to leave those for journaling, which I haven’t done yet! Anyway, be sure to check out the first video in this series to get a better peak in to my process and how I began to set up my visual planner!


